Key takeaway
Key takeaways
- T-10 weeks: Site survey and scan
- T-8 weeks: Projector study and sign-off
- T-7 to T-2 weeks: Content production
- Show day −3 to −2: Build and first alignment
How 3D projection mapping is actually delivered
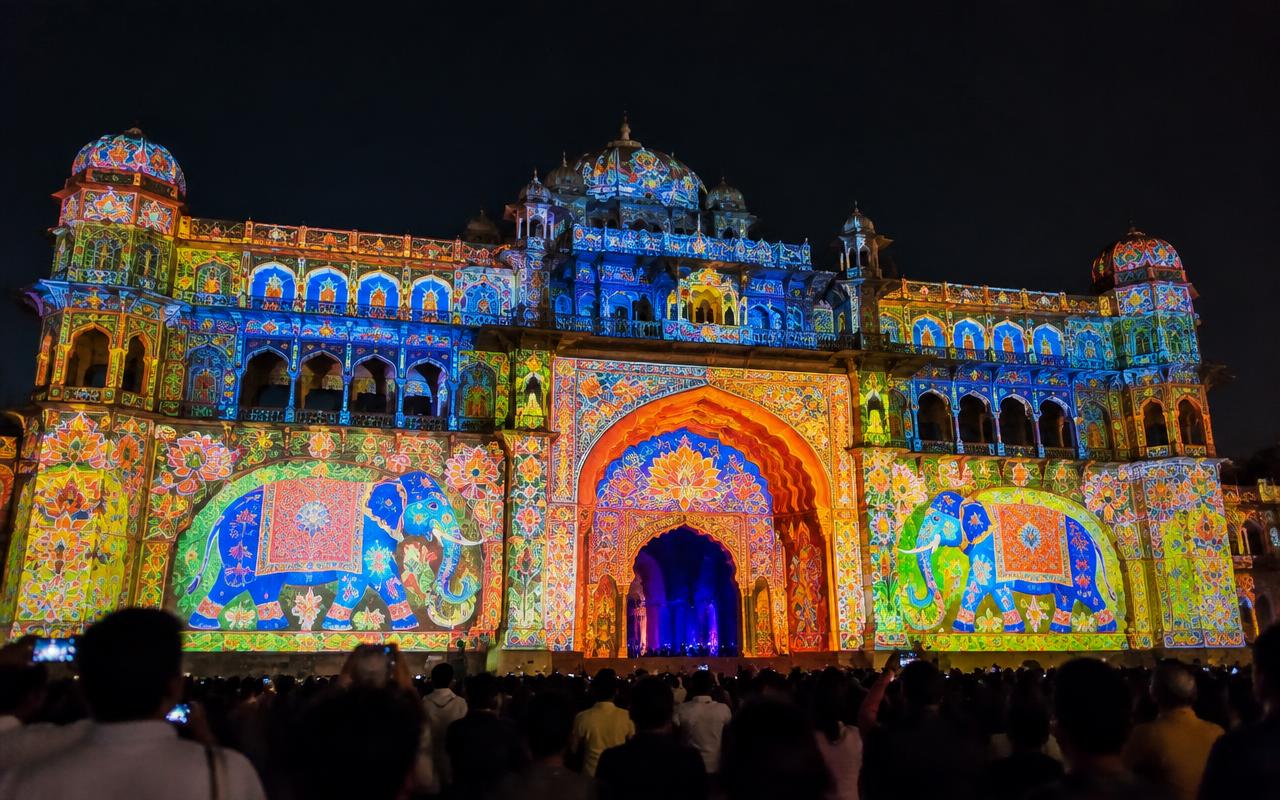
Projection mapping starts with a survey, not a storyboard. We photogrammetry-scan or LiDAR-measure the surface — a façade, a stage set, a car, a cake — and build a 3D model that matches the real object within a few centimetres. The projectors are then positioned virtually against that model to check throw ratio, keystone, shadowing from balconies or trees, and whether any part of the surface falls outside the beam. Only once the projector positions are fixed does content production begin, because a mapped animation is authored against a specific camera position and cannot simply be moved later.
From enquiry to load-out
- T-10 weeks
Site survey and scan
Photogrammetry or LiDAR capture of the surface, plus ambient light readings taken at the intended show hour.
- T-8 weeks
Projector study and sign-off
Virtual projector placement, brightness calculation and tower positions agreed with the venue and the authority.
- T-7 to T-2 weeks
Content production
Storyboard, animatic review, then full 3D render against the UV map with sound design and score.
- Show day −3 to −2
Build and first alignment
Towers built and ballasted, projectors rigged, first night of warping, blending and masking.
- Show day −1
Technical rehearsal
Full show run at the actual hour, content reviewed from the audience position, and corrections rendered overnight.
- Show day to +2 days
Show run and strike
Nightly runs with a pre-show alignment check, then strike with projectors cased and towers de-ballasted.
Who is on site
- Mapping technician
Builds the geometry model, warps each projector to the surface and maintains alignment across the run.
- Media server operator
Runs disguise, Pixera or Watchout, holds the show timeline to timecode and keeps a mirrored backup server.
- Content artist
Authors the animation against the UV-mapped geometry so it reads correctly from the audience viewing position.
- Projector technician
Rigs, powers, focuses and cools each unit, monitors lamp or laser hours and swaps a failed unit without losing alignment.
- Rigger
Builds and ballasts the projector towers, secures positions against wind and marks them for repeatable realignment.
What you should receive
Deliverables
- 3D geometry model of the mapped surface with the UV layout
- Projector placement study with throw, brightness and coverage calculations
- Master render of the show content at delivery resolution
- Media server show file with timecode cues and a mirrored backup
- Masking map showing every excluded window, balcony and dark zone
- Audio stem and mixed show track used for synchronisation
- Full-length video capture of the show as performed from the audience position
What we plan around
What can go wrong
How we prevent it
- What can go wrong
Street lighting or a neighbouring building's floodlights wash the façade and the show looks grey.
How we prevent itAmbient readings are taken at the show hour during the survey, and the blackout of specific street and site lights is negotiated and written into the permission before content is budgeted.
- What can go wrong
Content is authored before projector positions are fixed, so the animation does not sit on the geometry.
How we prevent itContent production does not begin until the projector study is signed off, because the mapping is authored against those exact camera positions.
- What can go wrong
A projector tower settles overnight in soft ground and the whole blend is out by morning.
How we prevent itTowers are built on load-spreading base plates, ballasted, and positions are physically marked so a realignment check before each show takes minutes.
- What can go wrong
Dust and heat in an outdoor enclosure cause thermal shutdown mid-show.
How we prevent itIP-rated enclosures with filtered forced-air cooling, filters changed daily on a multi-night run, and internal temperature logged during rehearsal.
The detail that matters
Brightness is the engineering constraint that decides the budget. Perceived image brightness depends on lumens, surface area, the reflectance of the material and the ambient light falling on it. Stone and painted plaster reflect perhaps 20 to 35 per cent of what hits them; dark stone far less. A heritage façade of 400 square metres with street lighting nearby can need 100,000 lumens or more in total, which is three or four stacked 30K-class laser projectors per angle. Laser phosphor sources are the standard now because they hold brightness and colour across a run, start instantly and tolerate the dust and heat of an outdoor build far better than lamps.
Start the conversation
Get an itemised quote from Prime AV Solutions within 24 hours — call +91 93093 80958 or WhatsApp our producers.
Published 22 June 2026 by the Prime AV Solutions production team.