Key takeaway
Key takeaways
- T-5 weeks: Pitch and geometry decision
- T-4 weeks: Pixel map issue
- T-2 weeks: Rigging and power sign-off
- Show day −2 to −1: Build and calibration
How LED wall rental is actually delivered
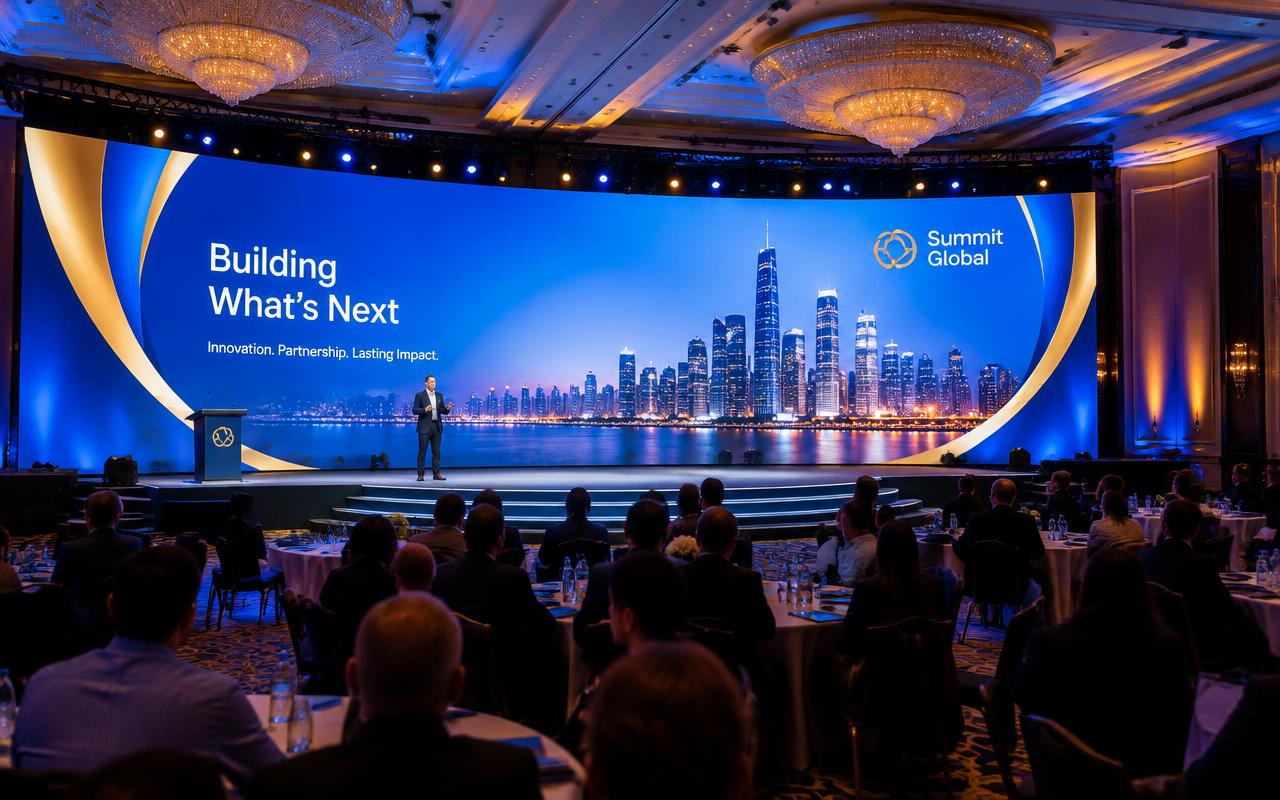
Creative LED is a maths problem before it is a visual one. Pixel pitch sets the minimum comfortable viewing distance — as a working rule, the distance in metres at which the image resolves cleanly is roughly the pitch in millimetres, so a P3.9 panel reads well from about four metres and a P2.6 from under three. We choose pitch from where the nearest audience actually stands and from what the content is: a logo-and-colour backdrop forgives a coarser pitch than live text or a camera that will push in on the surface. The panel grid is then drawn to native resolution so content is authored pixel-for-pixel rather than scaled.
From enquiry to load-out
- T-5 weeks
Pitch and geometry decision
Nearest viewing distance, camera plan and content type set the pixel pitch and the panel grid.
- T-4 weeks
Pixel map issue
Your content studio receives the exact canvas resolution, aspect and safe areas so nothing is authored to be scaled.
- T-2 weeks
Rigging and power sign-off
Point-load report, wind-load assessment for outdoor builds and the power schedule go to the venue.
- Show day −2 to −1
Build and calibration
Panels built, data and power looped, canvas mapped, then a brightness and colour calibration pass across the surface.
- Show day −1
Camera check
Refresh, ShutterSync and genlock verified live through the actual cameras, with content on screen.
- Show day to +6 hours
Show and strike
Operated through the show with spares on hand, then de-rigged panel by panel into cases in build order.
Who is on site
- LED technician
Builds the panel grid, maps the canvas to native resolution and chases any dead panel, card or ribbon on sight.
- Media server operator
Runs disguise or Resolume, holds the content timeline against timecode and keeps a hot backup machine mirrored.
- Rigger
Flies the sections, checks point loads against the report and manages any kinetic or winch elements.
- Video engineer
Owns processing, refresh rate, ShutterSync and genlock so the wall behaves correctly on every camera.
- Content technician
Conforms incoming content to the pixel map, fixes aspect and colour issues and version-controls what plays.
What you should receive
Deliverables
- Pixel map with native canvas resolution, aspect ratio and safe areas
- Panel grid drawing with data and power loop order
- Point-load report and, outdoors, a wind-load assessment
- Processor configuration record including refresh, ShutterSync and genlock settings
- Brightness and colour calibration report across the surface
- Content playlist with timecode cues and a backup on two drives
- Spares inventory log and a record of any panel swapped during the run
What we plan around
What can go wrong
How we prevent it
- What can go wrong
The wall looks flawless to the eye but shows rolling bands on every camera.
How we prevent itRun panels at 3,840 Hz or higher and lock ShutterSync and genlock to the camera chain, then verify through the actual cameras before the show, not at rehearsal.
- What can go wrong
Content authored at 1920 x 1080 is stretched onto a non-standard canvas and every logo distorts.
How we prevent itThe pixel map goes to the content studio at T-4 weeks with exact resolution and safe areas, and we conform and review every file before build day.
- What can go wrong
Humidity works a ribbon cable loose and a column of panels goes dark mid-show.
How we prevent itCables are dressed and strain-relieved at build, connections are reseated after the first full power cycle, and five per cent spare panels and cards are on site.
- What can go wrong
An outdoor flown wall becomes a sail and the wind load exceeds the structure's rating.
How we prevent itA wind-load assessment is run against panel area and trim height, with a documented wind speed at which the wall is lowered or the show pauses.
The detail that matters
Processing decides whether the wall looks like a screen or like a surface. Novastar MCTRL4K and Brompton Tessera SX40 handle large canvases, and the Brompton path adds the tools that matter for cameras: high refresh rates, ShutterSync to lock panel refresh to the camera shutter, and genlock so the wall and the broadcast chain share a clock. Without that, a wall sitting at a low refresh rate will show rolling bands and tearing on every camera cut even though it looks perfect to the eye. Indoor walls typically run 800 to 1,500 nits; outdoor daylight surfaces need 5,000 nits and upwards to hold an image against sun.
Start the conversation
Get an itemised quote from Prime AV Solutions within 24 hours — call +91 93093 80958 or WhatsApp our producers.
Published 16 July 2026 by the Prime AV Solutions production team.